
A wet afternoon, a bucket of conkers, and a child who has already lost interest in the actual game. That is how most conker craft sessions start. The good news is that conkers are one of the friendliest craft materials you can find. They are free, they take paint and glue well, they hold a hole once you have made one, and if a project goes wrong you can walk outside and collect more. Here are eight projects that need nothing you do not already have in a kitchen drawer.
Choosing and Preparing Your Conkers
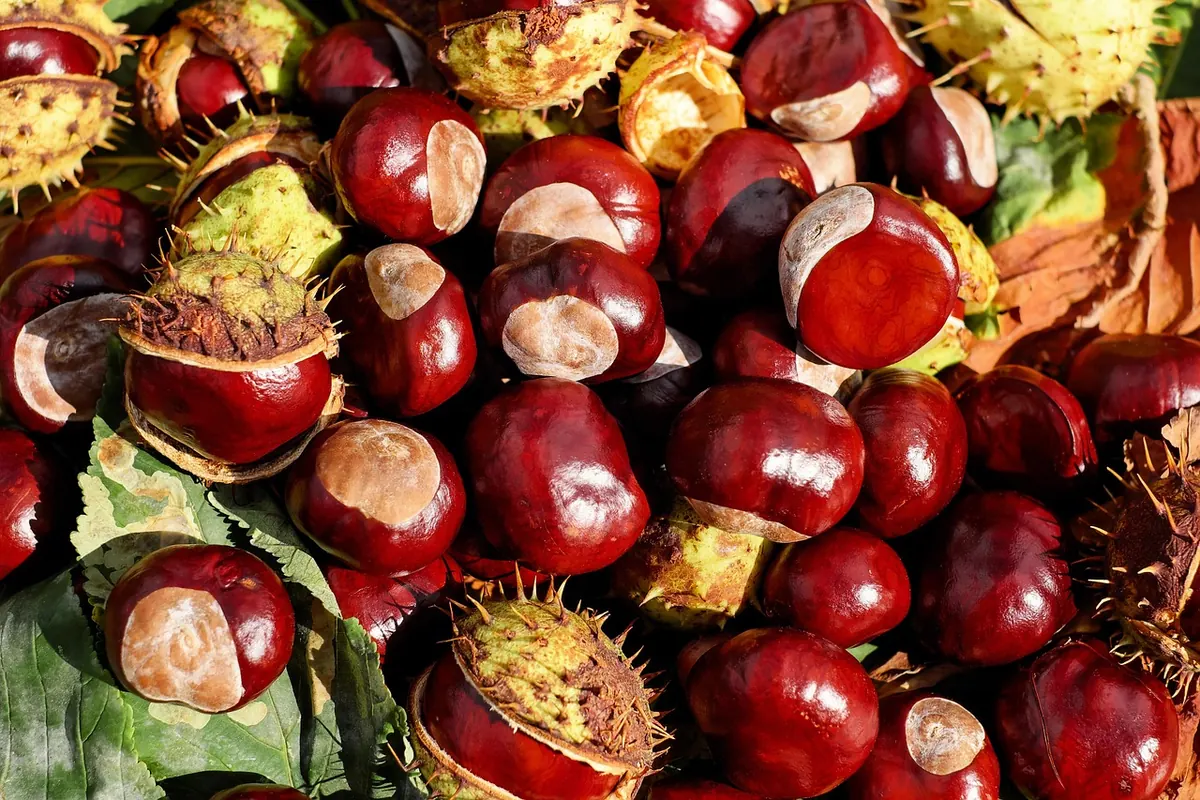
The first rule of conker crafting is the same as the first rule of conkers: firm and glossy beats big and hollow. A conker that feels light for its size has already begun to dry out inside and will crumble when you push a skewer through it. Look for smooth, hard shells with no cracks, and leave the bruised ones on the ground.
Wash your haul in warm water with a drop of washing-up liquid. This lifts the sticky sap and the soil, and it gives you a chance to spot small round holes, which mean something has been living inside. Dry them on a tea towel somewhere cool and airy. Keep them off radiators; fast drying splits the shells. If you want to keep that deep chestnut shine, rub each conker with a smear of cooking oil, or give it a coat of clear nail varnish for something more permanent.
1. Conker Figures
This is the classic, and it is still the best place to start. Two conkers, a few sticks and a marker will give you a person, a dog, a horse or something entirely invented.
You will need:
- 2 conkers, one slightly smaller for the head
- 4 to 6 wooden cocktail sticks, or matchsticks with the heads cut off
- An awl, a metal skewer or a small hand drill
- PVA glue and a permanent marker
How to make one:
- Make a hole in the top of the large conker for the neck, and four holes underneath for the legs. Twist the awl as you push rather than forcing it straight through.
- Push a cocktail stick into the neck hole, add a dab of glue, and press the smaller conker on top.
- Trim the leg sticks to length and push them into the base. Short legs and wide feet look steadier than long, spindly ones.
- Draw on a face. Two dots and a small line is plenty; big cartoon eyes tend to look unsettling on a conker.
Getting Them to Stand Up
A figure with four straight legs will wobble. Splay the front pair slightly forward and the back pair slightly back, angling each stick outwards as you push it in. If it still tips, push the legs in a little deeper so the body sits lower.
2. Conker Spiders and Dangling Critters
Easier than figures because nothing has to stand up. Take one conker and eight pipe cleaners, or eight lengths of garden twine. Push each leg into the side of the conker with the awl first, then bend the pipe cleaners into knees so the spider can perch on a shelf edge. Glue on two small beads or paper circles for eyes. Thread a loop of twine through the top and you have a hanging decoration for a window or a porch.
The same method makes a surprisingly good bat: one conker body, two paper wings glued on, and a loop of black thread.
3. Painted Conkers
Conkers take acrylic paint well, and their round shape does half the work for you.
- Miniature pumpkins: paint orange, let it dry, then add a small green felt or card stalk glued into a shallow dent on top. A line of thinned brown paint down the sides suggests the ribs.
- Ladybirds and beetles: red or yellow base, black spots, a black head and a thin painted line down the back.
- Stamped prints: dip the flat side of a halved conker into paint and press it onto card. The cut face has a lovely ridged texture that works well for autumn cards and gift tags.
Paint two coats on a conker and it will look nothing like the thing you picked up off the pavement, which is most of the fun.
4. Conker Garlands and Wreaths
For a garland, drill straight through the centre of each conker with a fine bit or a strong awl, then thread them onto garden twine or thin ribbon. Knot between each conker to stop them sliding into a clump. Alternate with dried orange slices, cinnamon sticks or a few fake leaves and you have something that looks far more considered than the effort involved.
Threading or Wiring?
Threading is quick and suits long swoops across a mantelpiece. Wire is better for a wreath, because you can bend each conker into position on a ring and nothing shifts. Use florist's wire or thin craft wire, wrap it twice around each conker and twist the ends at the back. Add a ribbon at the top and hang it on a door, but keep it away from rain.
5. Conker Jewellery and Table Favours
Small, flat conkers make good pendants and keyrings. Drill one hole, push a jump ring or a loop of wire through, and hang it from a ribbon or a split ring. A line of drilled conkers on elastic thread makes a chunky bracelet that suits autumn colours; varnish them first so they do not mark clothing.
For a table, write names on small cards and slot each one into a shallow saw cut across the top of a conker. A few of these around a plate, with a garland overhead, turns a casual Sunday lunch into something that looks deliberate.
Storing Your Crafts, and a Word on Safety
Conkers are alive for a while. Even dried ones can go mouldy in a damp box, so store finished pieces somewhere dry and airy rather than sealed in a plastic tub in a cold shed. A light coat of varnish or oil helps, and it keeps the colour richer for longer. Figures with glued joints should be handled gently; if a leg comes loose, a fresh dab of PVA and half an hour of patience fixes it.
Two sensible precautions. Conkers are not edible — they contain a substance that upsets the stomach — so keep finished pieces away from pets and from toddlers who put things in their mouths, and wash your hands after a long crafting session. Horses in particular should never have access to them. If you suspect a pet has eaten one, ring your vet rather than waiting to see.
Beyond that, the only real risk is collecting far more conkers than you can possibly use. Which, honestly, is a fine problem to have.
Photo: hbieser / Pixabay